
Last updated: July 17, 2025
Step-by-Step Roof Solar Installation Guide
Pre-Installation Checklist
- Structural assessment - Ensure minimum 30kg/m² load capacity
- Roof inspection - Replace aged roofs before installation
- Shade analysis - Use solar apps to map sunlight patterns
- Regulation compliance - Check local permitting requirements
Safety Essentials
✓
OSHA-approved fall protection gear✓
1000V-rated insulated gloves✓
Weather monitoring deviceRoof-Specific Mounting Solutions
Installation Specifications by Roof Type
| Roof Type | Time Required | Cost/Sq Ft | Wind Rating | Best System |
|---|---|---|---|---|
| Asphalt/Clay Tile | 8-12 hours | $2.50-$3.80 | 130mph | Adjustable Hook Systems |
| Standing Seam Metal | 4-6 hours | $1.80-$2.60 | 150mph | Seam Clamp Systems |
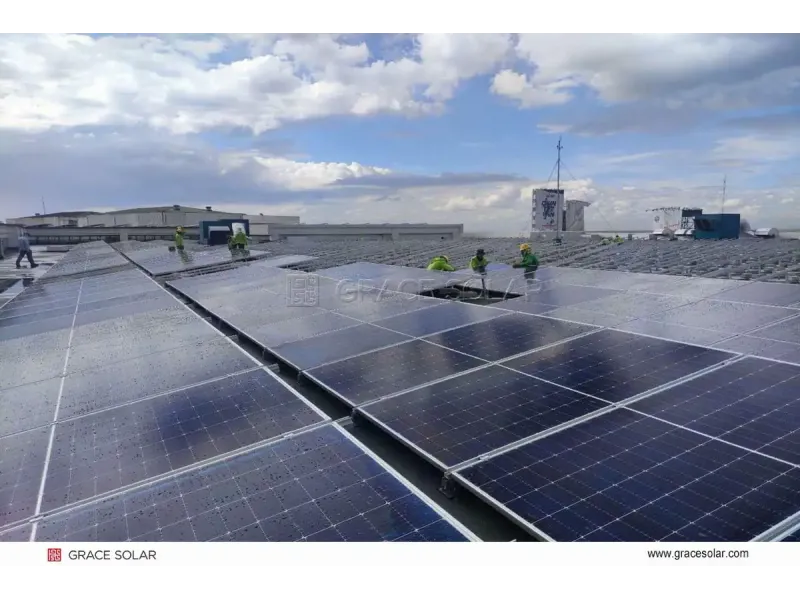
| Flat Roof | 6-8 hours | $2.20-$3.20 | 110mph* | Ballasted Systems |
*With supplemental wind deflectors
Professional Installation Standards
Electrical Safety Protocols
- DC isolators within 3m of array (NEC compliance)
- Grounding resistance <10Ω with copper bonding
- UV-resistant MC4 connectors for all connections
- Rapid shutdown devices meeting 2025 standards
Maintenance Schedule
- Monthly: Visual inspection of mounts & panels
- Annual: Torque checks on all mounting hardware
- 5-Year: Sealant replacement at penetration points
- After Events: Post-storm structural assessment
Professional Installation Services
Certified EPC contractors are recommended for:
- Multi-array commercial installations
- Complex roof angles (>15° pitch)
- Historic building requirements
- Projects requiring interconnection agreements
✓ Quality Guarantee: Professional installs typically extend system life by 30%
✓ Warranty Protection: Maintain full manufacturer warranties
✓ Safety Compliance: Meet all OSHA and electrical codes


